
What it does
When the CO2 levels rise above the setpoint knob, the sensor switches the relay. The relay stays switched for at least the “Min Runtime” minutes, or until the room falls below the setpoint.
The sensor is powered by the 24VAC from the furnace transformer (red and black wires). The fan on the furnace turns on when the red wire is connected to green. To make that happen, the red and green are connected to the COM (common) and NO (normally open) terminals of the sensor.
Things you will need
- Sanobreeze wired CO2 ventilation controller (Part Number Rylo Systems RCT-CO2)
- 18 through 24 AWG thermostat wire with at least three conductors to reach between the install location and either the furnace or thermostat
- Wire nuts or Wago couplers
Things you will do
Safety first: turn off power to your HVAC equipment before you start, and make sure everything you do follows your local electrical codes. If you aren't comfortable working with low-voltage wiring, call a licensed HVAC tech.
- Check that you have a forced air furnace or air conditioner: we are going to use the fan mode on the furnace to circulate fresh air throughout your home.
- If you don't have a furnace - check out other ways you can use the Sanobreeze to ventilate your space
- Verify the furnace and existing thermostat is a low voltage type that runs on 24 volts (the sensor does not work at full line voltage). A multimeter works best, but you can also check what model thermostat you have to verify the voltage.
- Identify the location for the sensor in your stuffy bedroom. You need to gain access to the thermostat wire for the furnace, so there are two logical options:
- Connect to the thermostat (ensure there is a red, black, and green wire available)
- Connect to the furnace
- Using the template from the install guide, make three holes in the wall - one for the control wires in the middle, and two for the wall anchors.
- Ideal height for the sensor on a wall is 4 feet, around the height off the floor of a light switch.
- Aim for the sensor to be at least 3 feet from typical locations of people, like the head of a bed or next to a chair.
- Turn off power to the HVAC equipment!
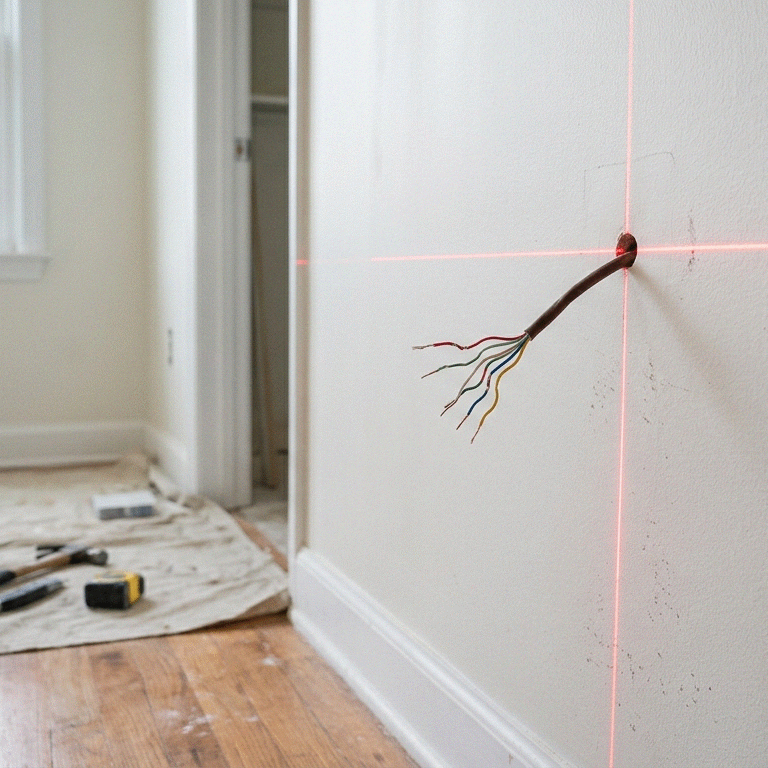
- Run thermostat wire from the wire hole back to the thermostat or furnace.
- Insert the wall anchors in the holes drilled for them in a previous step.
- Open the Sanobreeze controller by pinching the clips on the right side at the top and bottom while hinging it open to the left.
- Check that the center wire hole is open. If the electrical knockout is not pre-opened, knock it out.
- Feed the wire bundle through the center opening of the Sanobreeze enclosure and the circuit board.
- Mount the enclosure to the wall using the anchor screws.
- Be careful not to damage the circuit board when installing the screws
- Insert wires into the terminal block and tighten the screws to no more than 1 in-lb. Assuming you have pulled red, black, and green wires:
- Red connects to one of the power terminals (polarity does not matter)
- Red also connects to the COM (common) terminal
- Black connects to the other power terminal (polarity does not matter)
- Green connects to the NO (normally open) terminal
- Move to the furnace/thermostat side and connect the Red, Black, and Green wires to the same colors there.
- Power on the furnace and follow the installation instructions for setting the CO2 level and runtimes.
- Congratulations! You now have an unstuffy bedroom!